
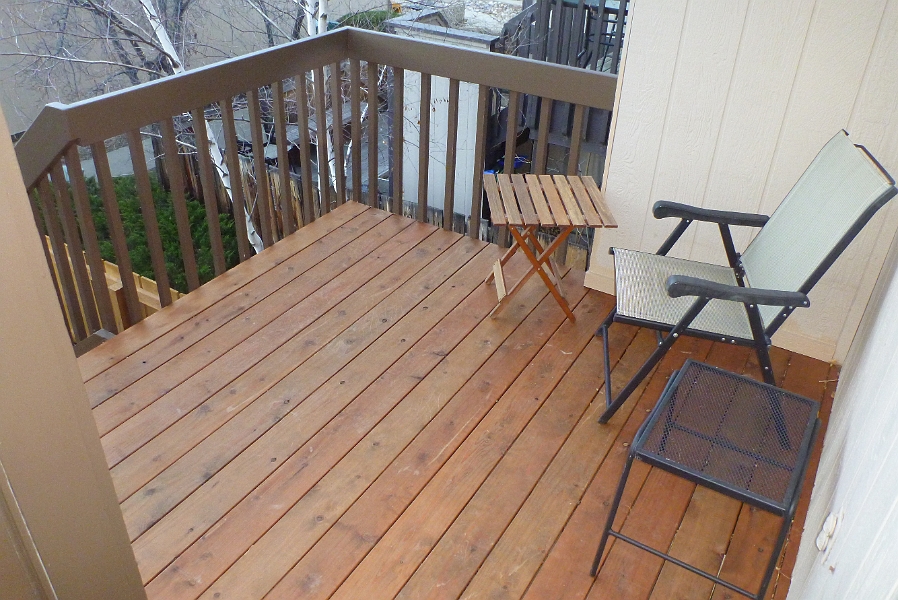
 Autumn seems to be drawing to a close in Colorado, and I am happy to have completely wrapped up the reconstruction of my front porch. This was yet another of my many New Year’s Resolutions for 2011 that I’m proud to have finished. As you see in the photo album, I replaced the worn out decking with beautiful redwood and opted for the heartwood which is all red for a very clean look. I finished it with a teak colored stain that blends well with the brown building colors, and I fastened the boards from below which results in a smooth top surface and extra protection against rot, since water doesn’t pool in each of the screw holes on the decking. The railings were also rotted, so I replaced them with durable redwood which was painted brown to conform with the condominium colors. As always, the project required much more energy and time than I expected, but I love the finished product.
Saturday, November 26, 2011
New Front Porch
Sunday, November 20, 2011
Time Lapse Photography
One of my favorite time lapses is shown in the video below and reveals significant motion of an iceberg in Alsek Lake in Alaska over a the course of about 2 hours. This scene is particularly interesting to me, because as I sat on the shore of this incredible lake with my friends for several hours, we would occasionally note that the massive icebergs had moved significantly right before our eyes without any perceptible motion. So in the remaining day light hours, I captured this berg’s motion and confirmed that it was indeed moving quite a bit right in front of us.
Friday, November 18, 2011
Panorama Creation
The basic process of creating panoramas can be summarized in a few steps, each of which I will explore in more detail:
- Capture the scene by taking multiple overlapping photographs
- Stitch the photos into a panorama
- Share the panorama with viewers
Thursday, November 3, 2011
Video Editing Software Comparison
As part of my effort to explore the many ways that digital media can be used to share stories, I have invested considerable time and energy creating small videos that I have posted to my YouTube channel. These videos have ranged from my favorite clip of a humpback whale to Gumby flying my RC plane to time-lapses of space-borne scientific instruments to photo/video montages of my kayaking exploits. But no matter the subject, the fact remains that being able to quickly and repeatedly generate content is the best way to share the story behind the video. In order to accomplish this throughput, I have used Windows Live Movie Maker as my video editor for the past several years. It is an extremely simple, yet robust, free video editor for Microsoft Windows that is analogous and quite comparable to iMovie for Mac computers. But after a while, simply being able to generate content consistently was no longer enough. After spending all of that time creating videos, I realized that there were capabilities that simply did not exist in Movie Maker and so I set about to find a better solution.